
A complete bathroom renovation is a sequence of interdependent stages. Understanding that order makes it easier to compare quotes, prepare your home and recognise why proper substrate work matters as much as the final tiles.
1. Consultation, measurement and scope
The process begins by assessing the existing room, discussing layout and selections, checking access and preparing a detailed scope. Decisions about fixture positions, storage, tiles and materials need to be coordinated before construction.
- Measure the room and existing openings
- Confirm which items are supplied by you or included
- Discuss likely asbestos testing and property-specific constraints
2. Protection and complete strip-out
Access paths and adjoining surfaces are protected before existing fixtures, tiles and failed linings are removed. Taking the room back far enough allows framing, substrates and services to be inspected rather than covered over.
3. Framing inspection and service rough-in
Exposed studs and floor structure are checked for moisture damage, movement and suitable fixing support. Required repairs are completed before plumbing and electrical services are positioned for the agreed layout.
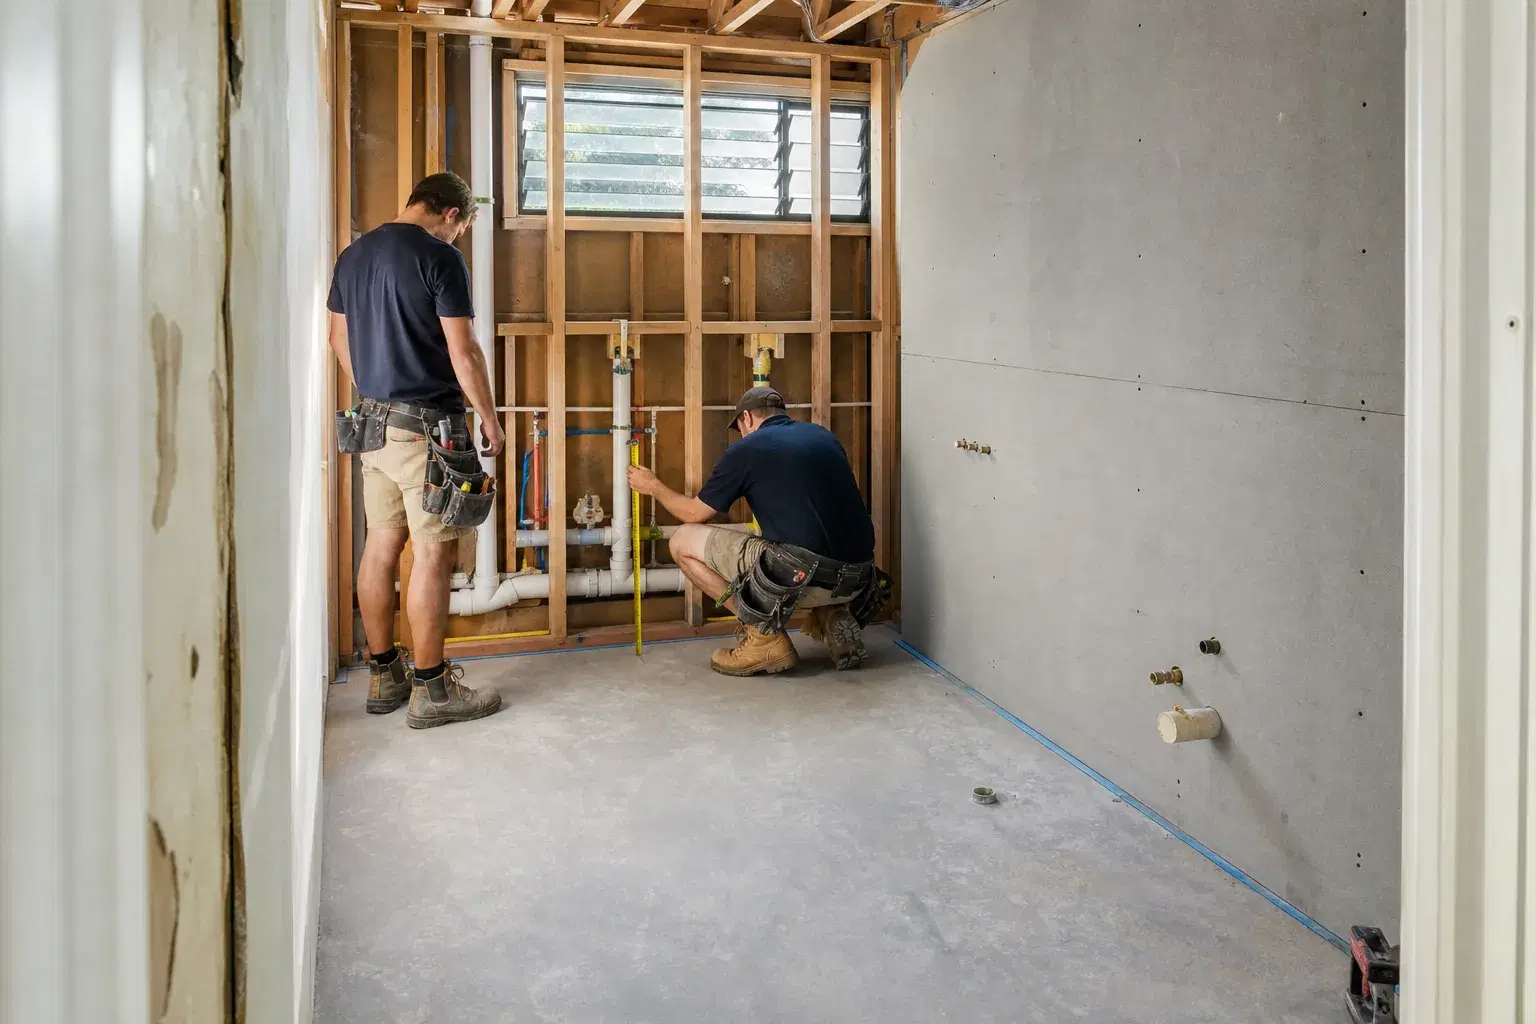
4. Sheeting, falls and waterproofing
Wet-area sheeting, supports and niches are installed, and shower falls are formed toward the drain. Junctions and penetrations are prepared before the compliant membrane is applied to the required areas and allowed to cure.
This stage is not visible in the finished room, but it is fundamental to how the bathroom performs over time.
- Use substrates intended for the wet-area application
- Maintain drainage falls through later tiling
- Check corners, junctions, penetrations and the waste connection
5. Tiling, fit-off and handover
Tiles are set to the agreed layout before grouting and sealing. The bath, vanity, toilet, tapware, lighting, mirror, accessories and glazing are then installed and tested.
Final checks, cleaning and a handover walk-through complete the renovation. Your actual programme depends on scope, curing times, selections and any concealed work discovered during strip-out.
- Protect completed surfaces during fit-off
- Test fittings, drainage, lighting and ventilation
- Confirm care information and remaining project details at handover